 by
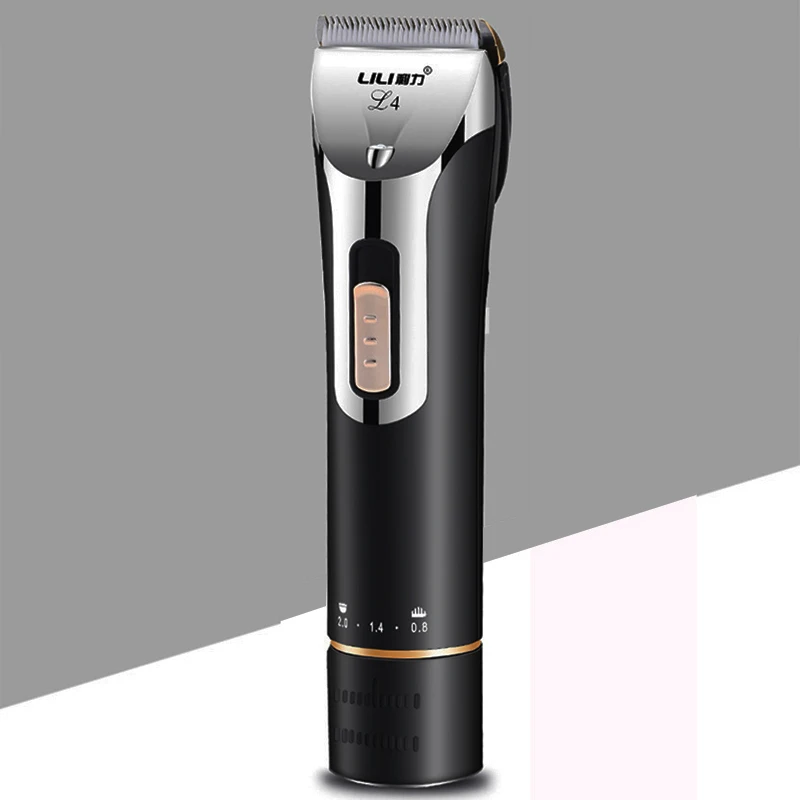
by Hair cutters, also known as hair clippers or trimmers, are essential tools in the hairstyling toolkit, whether you are a professional barber or simply someone who likes to maintain their own hairstyles at home. Proper maintenance of hair cutters not only ensures their longevity but also guarantees optimal performance, which ultimately leads to better haircuts. This extensive guide aims to cover various aspects of maintaining hair cutters, including cleaning, sharpening, oiling, and storing.
Understanding the Importance of Maintenance
Hair cutters are mechanical devices that rely on precision and functionality to create the desired hairstyles. Regular maintenance is crucial for several reasons:
Performance Enhancement
Well-maintained hair cutters deliver better performance. Dull blades can tug at hair, leading to an uneven cut and discomfort for the person receiving the haircut. A quick and regular maintenance routine can keep the blades sharp, ensuring smooth and effortless cutting.
Longevity
Proper maintenance can significantly extend the life of your hair cutter. By regularly cleaning and oiling the blades, you’re reducing wear and tear, boosting the longevity of your device.
Hygiene
Hair clippings and product residues can accumulate over time, posing hygiene risks. Regular cleaning not only helps in maintaining performance but also ensures a clean tool for use on clients or yourself.
Cost Efficiency
Investing in regular maintenance saves money in the long run. A well-cared-for hair cutter will require fewer repairs and replacements over time, making it a cost-effective choice.
Essential Tools for Maintenance
Before diving into the maintenance procedures, it’s essential to have the right tools at your disposal:
Basic Cleaning Supplies
- Soft Brush: This is useful for removing hair and debris from the blades and the clipper casing.
- Cloth: A microfiber cloth can be handy for wiping the exterior and blades after cleaning.
Cutting Oil
Using specialized clipper oil helps in maintaining blade performance by reducing friction and wear.
Screwdriver
If your hair cutter requires disassembly for deep cleaning or blade replacement, a small screwdriver will be necessary.
Blade Sharpener
If you notice that your cutter blades are getting dull, a blade sharpener designed specifically for hair clippers can help restore their sharpness.
Step-by-Step Maintenance Guide
Here’s a detailed step-by-step guide to maintaining your hair cutters, helping you adhere to the best maintenance practices.
Cleaning the Blades
Cleaning the blades is one of the most vital aspects of hair cutter maintenance.
Daily Cleaning
After each use, it’s a good idea to perform a quick cleaning session:
- Turn Off the Cutter: Always ensure that your hair cutter is turned off and unplugged (if it’s corded).
- Remove Loose Hair: Use a soft brush to sweep away any loose hair clippings from the blades and the cutter’s body.
- Wipe with a Cloth: Utilize a microfiber cloth to wipe down the blades. This removes any products or oils that may have accumulated.
Deep Cleaning
Perform a more thorough clean every few weeks:
- Disassemble the Blades: Use the screwdriver to carefully disassemble the blades from the body of the hair cutter, if applicable.
- Wash the Blades: Rinse the blades under warm water to remove residue. Avoid submerging the entire clipper in water.
- Use a Brush: After rinsing, utilize a brush to scrub away any remaining hair or buildup.
- Dry Completely: After washing, allow the blades to air dry. Pat down with a cloth when possible to expedite drying.
- Reassemble: Once the blades are completely dry, reattach them securely.
Sharpening the Blades
Keeping the blades sharp is essential for a smooth cut.
Signs of Dull Blades
Observe your hair cutter for the following signs that may indicate it’s time for sharpening:
- Tugging or pulling during haircuts.
- Uneven cutting.
- Excessive noise while running.
Sharpening Technique
- Use a Blade Sharpener: If your hair cutter supports it, use a specific blade sharpener, following the manufacturer’s instructions.
- Professional Sharpening: For high-quality clippers, consider taking them to a professional sharpening service if you’re unsure about doing it yourself.
Oiling the Blades
Oiling your hair cutter helps keep the blades lubricated and functioning smoothly.
Frequency of Oiling
It is recommended to oil the blades after every three to five uses or whenever you notice increased noise or decreased performance.
Oiling Technique
- Turn Off the Clipper: Always ensure that the hair cutter is turned off.
- Apply Oil: Place a drop of clipper oil on each blade.
- Run the Clipper: Turn the clipper on for a few seconds to distribute the oil evenly across the blades.
- Wipe Excess Oil: Use a cloth to wipe away any surplus oil, ensuring that only a thin layer remains on the blades.
Storing Hair Cutters
Proper storage extends the life of your hair cutter.
Cool and Dry Location
Store your hair cutter in a cool, dry place away from direct sunlight, which can damage the plastic components.
Use a Case
If you travel often or understand the importance of protecting your tools, invest in a protective case. This can prevent accidental damage and keep the blades sharp and clean.
Performing Regular Inspections
Routine inspections help catch any potential problems before they escalate.
Visual Inspection
Check for:
- Cracks or damage to the clipper body.
- Loose or damaged blades.
Functionality Test
Run the hair cutter periodically without cutting hair to ensure there are no unusual sounds or performance issues.
Common Hair Cutter Problems and Solutions
Hair cutters can experience several issues. Understanding these problems can guide you to the right solutions.
Problem 1: Hair Cutter Won’t Turn On
If your hair cutter won’t turn on, consider these potential causes and solutions:
Possible Causes
- Dead or Faulty Battery: Recharge or replace the battery if it no longer holds a charge.
- Power Switch Malfunction: The switch may be faulty or stuck.
- Electrical Issues: Internal wiring may have a problem.
Solutions
- Recharge or Replace Battery: Connect the cutter to a power source and check if it charges. Replace the battery if necessary.
- Inspect the Power Switch: Open the cutter’s casing and inspect the switch for debris or damage. Clean or replace as needed.
- Check Wiring: If you’re comfortable with electronics, inspect the internal wiring for damage or disconnections.
Problem 2: Hair Cutter is Noisy
Noise can be a result of several factors:
Possible Causes
- Loose Blades: Blades not tightly secured can vibrate excessively.
- Lack of Lubrication: Dry blades can cause grinding noises.
- Worn Out Motor: A motor nearing the end of its life may become louder.
Solutions
- Tighten Blades: Ensure screws are securely fastened.
- Lubricate Blades: Use clipper oil to reduce noise and friction.
- Motor Inspection: If the motor is worn out, consider professional repair or replacement.
Problem 3: Hair Cutter is Pulling Hair
Pulling or snagging hair is a common complaint:
Possible Causes
- Dull Blades: Blades that are not sharp will tug at hair.
- Improper Blade Alignment: Misaligned blades can cause snagging.
- Low Power: Insufficient power can cause uneven blade movement.
Solutions
- Sharpen or Replace Blades: Regularly sharpen blades or replace them if sharpening doesn’t resolve the problem.
- Realign Blades: Adjust the blades for even, parallel alignment.
- Ensure Full Charge: Ensure the battery is fully charged to provide sufficient power.
Advanced Hair Cutter Repair Techniques
When basic troubleshooting doesn’t resolve issues, more advanced techniques may be needed.
Disassembling the Hair Cutter
Before you start any in-depth repair, you may need to disassemble the cutter.
Step-by-Step Guide
- Unplug and Prepare Tools: Ensure the cutter is unplugged. Gather necessary tools like screwdrivers and a multimeter.
- Remove the Blade: Most models have easily removable blades. Unscrew and set aside.
- Open the Casing: Carefully unscrew the casing. Keep track of screws and small parts.
- Inspect Internal Components: Look for visible damage or wear in components like the motor or wiring.
Motor Inspection and Replacement
The motor is a crucial component. Inspect it thoroughly:
Inspecting the Motor
- Visual Inspection: Look for burnt or damaged components.
- Test with Multimeter: If you have electronics knowledge, test motor windings for continuity.
Replacing the Motor
- Obtain Correct Motor: Ensure the replacement motor matches your model.
- Disconnect Old Motor: Carefully unsolder or disconnect the motor from wiring.
- Install New Motor: Solder or connect the new motor, reassemble the cutter, and test for functionality.
 Advanced Maintenance Tips
For those serious about hair cutting, consider the following advanced maintenance advice:
Invest in Quality
Opt for renowned brands that offer high-quality hair cutters. Quality tools often have better durability, making maintenance easier over time.
Continuous Learning
Stay updated on best practices and advancements in hair clipper technology. Joining forums or reading guides related to hair cutting can also provide insightful tips for maintenance.
Professional Servicing
If you are a professional barber or stylist, consider scheduling periodic professional maintenance services, as they can provide in-depth care that goes beyond basic maintenance.
Conclusion
In conclusion, maintaining hair cutters is an essential aspect for anyone who desires consistent performance from their tools. By adhering to proper cleaning, sharpening, oiling, and storage techniques, you not only enhance the lifespan of your hair cutter but also ensure smooth and precise haircuts. Whether you’re a seasoned professional or a casual user, this guide covers everything you need to know for optimal care of your hair cutter. Remember, your tools are an extension of your skills; by caring for them properly, you guarantee that each haircut is a masterpiece, enhancing the overall experience for both you and the person receiving the haircut. Regular maintenance is not just a task; it’s a commitment to excellence.