Maintaining personal grooming is an essential part of self-care for many individuals, and one of the often-overlooked areas is nose hair trimming. A nose hair trimmer is a practical tool designed to help you manage nasal hair growth that can detract from your overall appearance. In this article, we will explore the various aspects of using a nose hair trimmer, from understanding what it is to tips for effective usage and maintenance. With over 1600 words, we aim to cover every detail to ensure that you become comfortable and skilled in using this valuable grooming tool.
Preparing for the Trimming Session
Clean the Area
Before you begin using a nose hair trimmer, it is essential to create a clean environment. This ensures that any debris, such as loose hair that may fall, is easily contained. You could even use a towel or tissue made of soft fabric to catch falling hair.
Gather Your Tools
Apart from the nose hair trimmer itself, you may require a few other grooming tools, including:
- Mirror: A magnifying mirror can provide better visibility.
- Tweezers: For any stubborn hairs left behind.
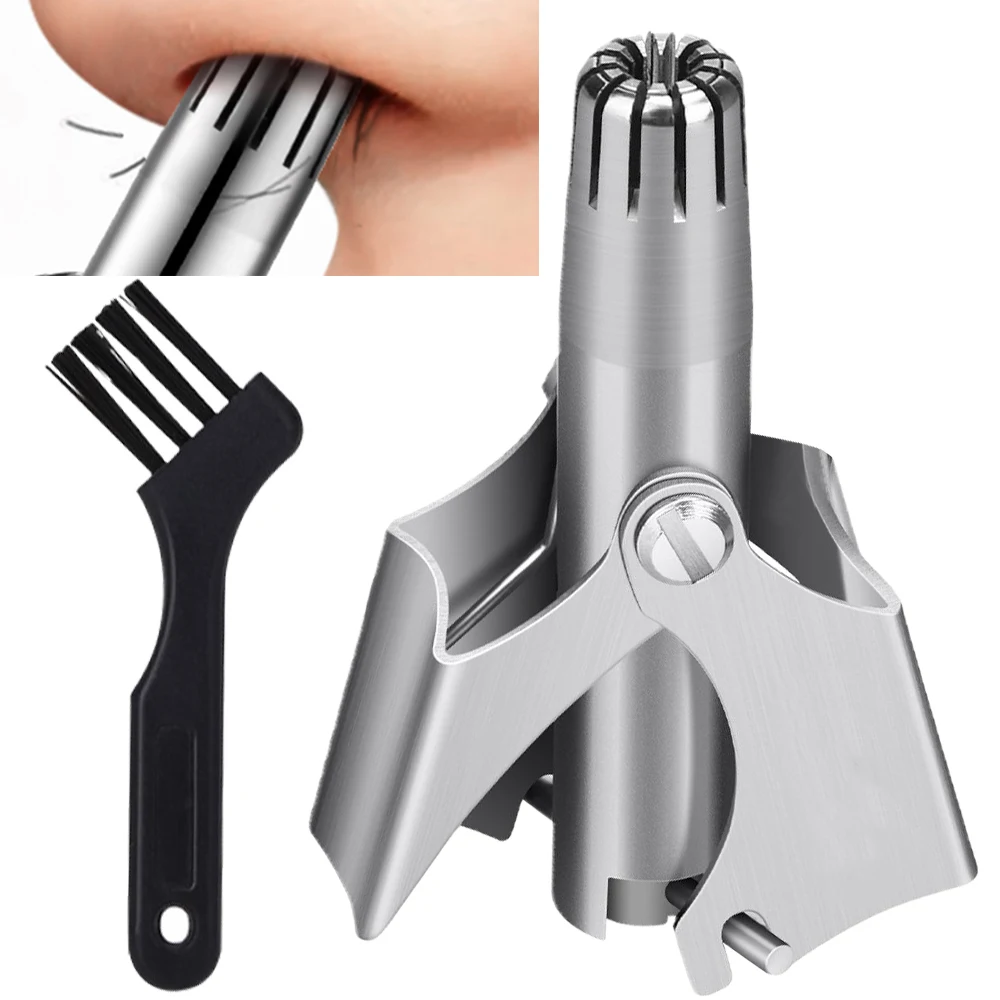
- Cleaning Brush: Many nose hair trimmers come equipped with a small cleaning brush for maintenance.
Prepare Yourself Mentally
If you are using a nose hair trimmer for the first time, it may help to familiarize yourself with the process first. Watch video tutorials or read reviews online to understand the experience others have had. Preparing yourself mentally for the procedure can ease any anxiety you may have.
Step-by-Step Guide to Using a Nose Hair Trimmer
Step 1: Positioning Yourself
Start by finding a well-lit area where you can comfortably examine your nostrils. A bathroom is often ideal due to the presence of mirrors and easy cleanup.
Step 2: Turn on the Trimmer
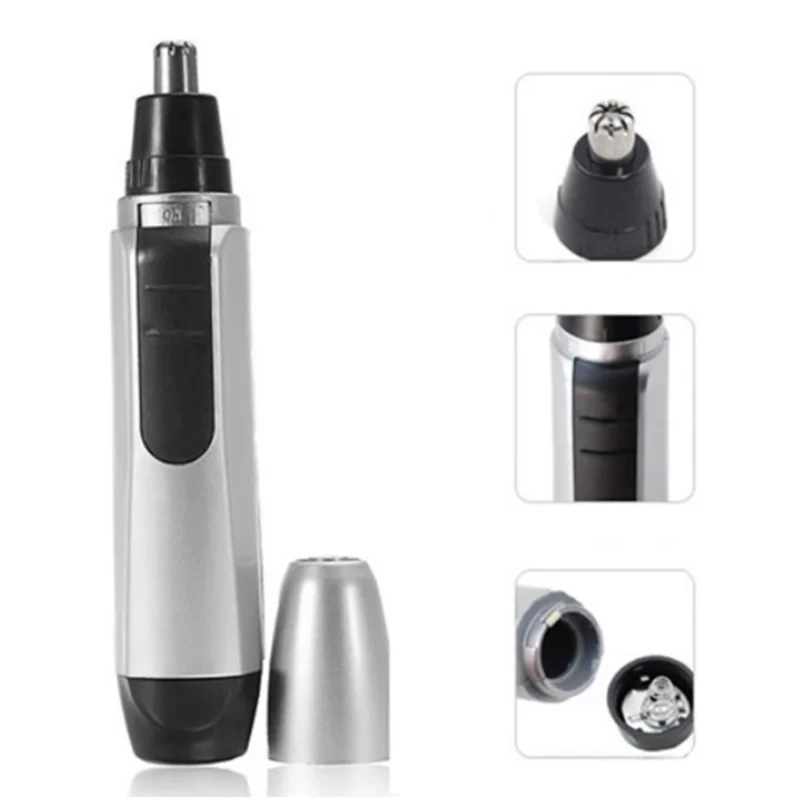
If you’re using an electric nose hair trimmer, switch it on. If your trimmer requires batteries, ensure that they are fully charged before use for optimal performance.
Step 3: Insert the Trimmer into Your Nostril
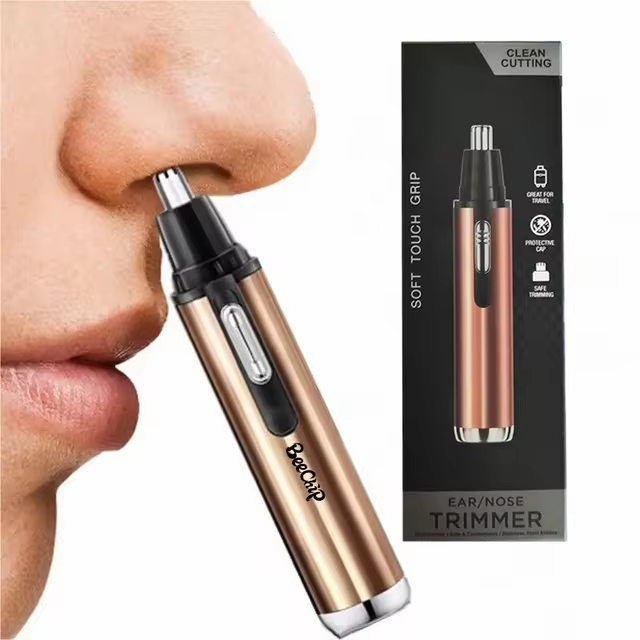
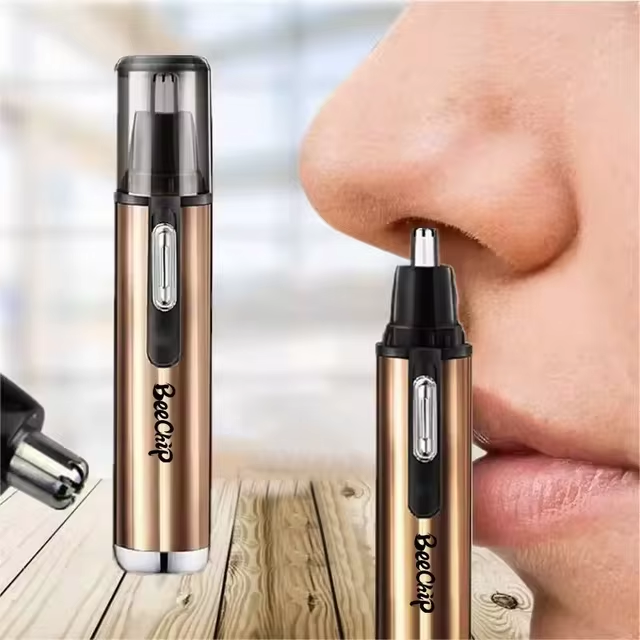
With the trimmer on, gently insert the tip of the trimmer into one of your nostrils. Ensure that you do this slowly and carefully, taking care not to push it too deep into your nasal cavity. The goal is to remove visible hairs without causing any discomfort.
Step 4: Rotate and Trim
Slowly move the trimmer in a circular motion as you hold it in your nostril. The rotary blades should do the work for you, cutting the hair you can see. Pay attention to where you feel resistance, as that is where you may need to focus more on trimming.
Step 5: Repeat on the Other Nostril
Once you are satisfied with the trimming in the first nostril, move on to the other one. Repeat the same process, ensuring not to rush.
Step 6: Clean the Area
After you are done trimming, be sure to clean the area around your nose and the trimmer itself. Many trimmers come with a cleaning brush to help remove any hair that has stuck inside the device.
Step 7: Check Your Work
Using a mirror, closely inspect your nostrils to ensure that you have removed all the desired hairs. If any remain, you can either use the trimmer again or pluck them using tweezers.
Tips for Effective Trimming
Regular Maintenance
To avoid significant hair growth in the future, try to establish a regular grooming routine. Depending on your hair growth rate, you may want to trim every couple of weeks or monthly. Professional trimmers might have blades that need to be replaced periodically, and these replacements may differ in terms of availability and cost compared to regular models.
Use Proper Lighting
Good lighting is crucial for effective trimming. If possible, choose a location with excellent natural light, or invest in a lighted nose hair trimmer, which comes equipped with LEDs.
Don’t Overdo It
Although it may be tempting to fully clean out all the hair, it’s important to balance appearance with functionality. Removing too much hair can compromise the nose’s ability to filter out particles effectively.
Be Gentle
Always use a gentle touch during trimming. The internal skin of the nostrils is sensitive, and harsh handling can lead to irritation or injury.
Replacing Parts: When to DIY and When to Seek Help
Identifying Parts That Can Be Replaced
Many trimmers come with features like removable blades, batteries, and even detachable power cords. Recognizing which parts can be easily replaced can save you a significant amount of money.
- Blades: Many trimmers have blades that can be purchased from the manufacturer or third-party suppliers. This is usually an easy DIY fix.
- Battery: Some electric trimmers allow for the replacement of batteries, making a dead trimmer usable again without needing to buy a brand-new unit.
- Cords and Power Adapters: For corded models, if the cord gets damaged, you may need to replace it. Depending on the complexity, this might require professional help.
Knowing When to Seek Professional Help
While many simple repairs can be done at home, some issues may require professional attention:
- Complex Electrical Issues: If you are uncertain about the internal wiring or if the motor has failed, it’s safer to consult a professional technician.
- Warranty Repairs: If your trimmer is still under warranty, tampering with the device may void it. Always call customer service for repair guidelines in this case.
Factors Influencing Repair Costs
Type of Problem
The nature and complexity of the issue will significantly influence the overall cost of repair. Simple issues like clogged blades may cost less to fix than a malfunctioning motor or requiring blade replacement.
Brand and Model
The brand and model of the nose hair trimmer can also impact repair costs. Premium brands may have higher-priced parts and specialized technicians, while generic models might have lower repair costs due to the availability of parts and resources.
Warranty Coverage
If your nose hair trimmer is still under warranty, you may benefit from free repairs or replacements. Always check warranty conditions before proceeding with repairs to see if they are covered.
Availability of Parts
The cost of replacement parts can vary greatly depending on availability. For popular or widely-used trimmer models, it’s easier to find replacement parts, while niche or high-end models might require special orders, adding to the overall cost.
Repair Cost Estimates
Minor Repairs
For straightforward repairs, like blade sharpening or cleaning a clogged unit, you may expect to pay anywhere from $10 to $40. These repairs are typically quick and usually do not require extensive labor.
Major Repairs
If the repair requires more intricate work, such as fixing the motor or replacing parts, costs can escalate. Major repairs may range from $50 to $100 or more, depending on the extent of the damage and the parts required.
Replacement vs. Repair
As repairs can sometimes be costly, you may need to weigh the benefits of repairing your trimmer against the cost of buying a new one. If your trimmer is older and experiencing several issues, replacing it could be the more viable option, especially if a decent new model is available for a similar price as the repair.
Caring for Your Nose Hair Trimmer
Clean It Regularly
To prolong the life of your nose hair trimmer and ensure hygiene, cleaning it after each use is essential. Remove any clippings and clean the blades as per the manufacturer’s instructions.
Replace Blades as Needed
Many nose hair trimmers have replaceable blades. Be mindful of the cutting efficiency; if your trimmer starts pulling hairs instead of cutting them, it might be time to replace the blade.
Store Properly
When not in use, store your nose hair trimmer in a dry place, ideally in a protective case if it came with one. This will prevent damage and keep it clean.
 Common Mistakes to Avoid
Not Using It Regularly
Many people make the mistake of only trimming their nose hairs for special occasions. Regular maintenance keeps the grooming process easy and reduces the need for more extensive work later on.
Ignoring it Completely
Some individuals tend to ignore nose hair altogether, which can lead to unwanted appearances. A little trimming goes a long way in enhancing your overall presentation.
Rushing the Process
Trimming nose hair may seem like a quick task, but rushing it can lead to mistakes and injuries. Take your time to achieve the best results.
Conclusion
By now, you should have a comprehensive understanding of how to use a nose hair trimmer effectively. From choosing the right trimmer to tips for maintenance and care, this guide covers all necessary aspects to help you achieve your grooming goals. A nose hair trimmer is more than just a tool; it’s an essential part of your personal grooming kit that can contribute to a polished appearance. Embrace the ease of nose hair trimming, and enjoy the confidence that comes with a well-groomed look!

