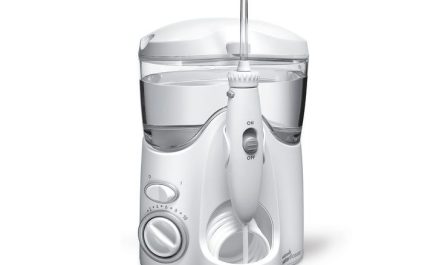
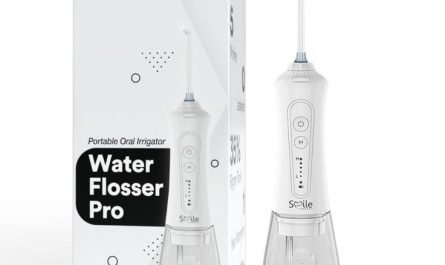
Importance of Keeping Your Water Flosser Clean
Keeping your water flosser clean is crucial for oral health. Just like your toothbrush, it can harbor bacteria and mold if not maintained properly. Regular cleaning prevents the buildup of mineral deposits and ensures your device operates effectively. This can prolong the life of your flosser as well.
Not cleaning your water flosser can lead to malfunctions or reduced performance. It may also affect the quality of your dental hygiene. Over time, blockages can form in the device’s tubing and nozzles, disrupting water flow. This can reduce your water flosser’s ability to remove plaque and debris efficiently.
Furthermore, a dirty water reservoir can become a breeding ground for bacteria. When water is jetted into your mouth, these bacteria could potentially contribute to oral infections. Therefore, learning how to clean water flosser units is not just about maintenance; it’s about protecting your health.
Finally, a well-maintained water flosser provides a fresher, more pleasant experience. You will feel more confident knowing that your dental care routine is sanitary and effective. Stick to the recommended cleaning practices to keep your water flosser in top condition.
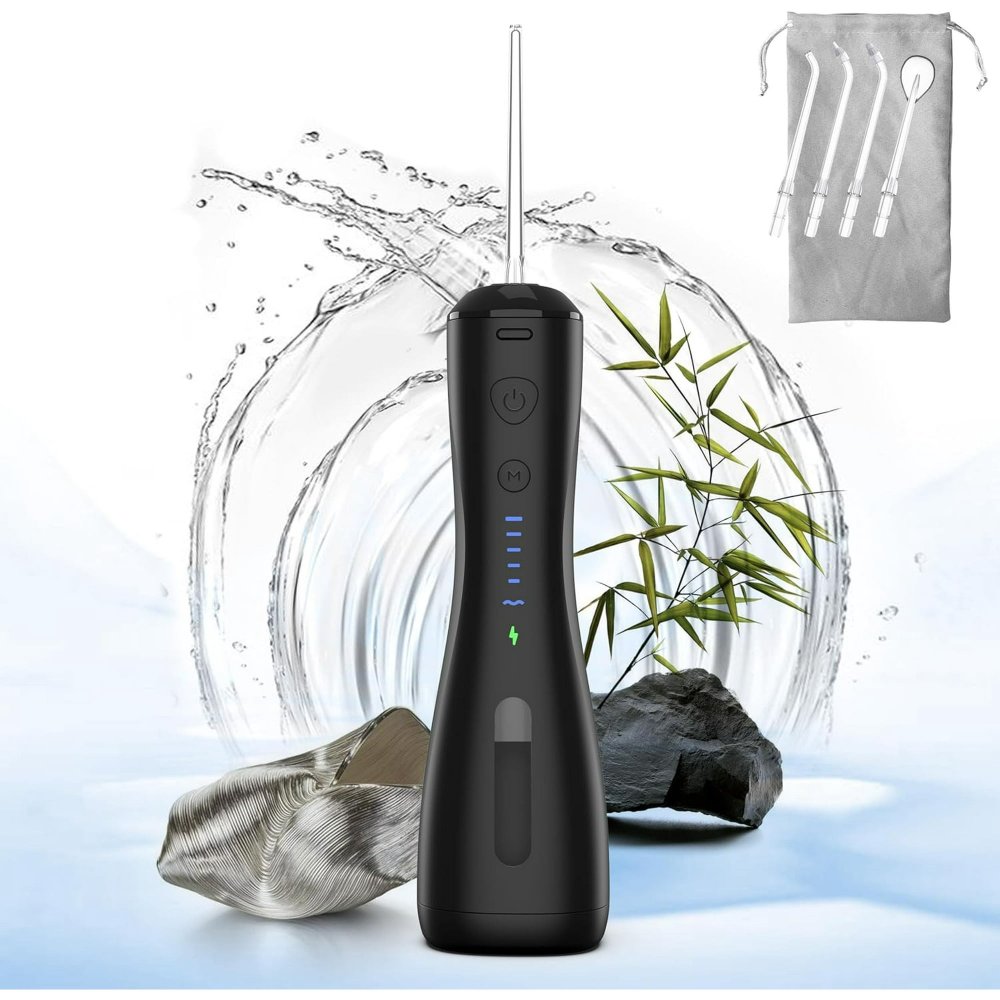
Daily Cleaning Techniques for Water Flossers
Incorporating daily cleaning of your water flosser into your routine is essential for hygiene and functionality. Here’s how to keep your device clean every day:
- Empty the Reservoir: After each use, ensure you empty the water tank. This prevents standing water from becoming a breeding ground for bacteria.
- Rinse the Reservoir: Rinse the reservoir with warm water. Swish the water around to reach all corners and then pour it out.
- Clean the Exterior: Wipe the outside of the flosser with a damp cloth. This keeps the body of the device free from dust and splashes.
- Dry the Nozzles: After using, eject the nozzle from the handle and let it air dry. A dry nozzle is less likely to harbor bacteria.
- Operate with Clean Water: At the end of your flossing session, run your water flosser for a few seconds with clean water. This clears out any remaining debris in the hose and tip.
- Leave Open to Air: After cleaning, leave the reservoir lid open. This allows the interior to dry out completely, reducing the risk of mold growth.
By following these steps, ‘how to clean water flosser’ will become a simple task in your daily oral care routine, keeping the device in optimal condition and ensuring you get the best out of its use.
Weekly Deep Cleanse: Steps and Solutions
A weekly deep cleanse of your water flosser is vital for optimal performance. Here is how to thoroughly clean your flosser:
- Disassemble Parts: Begin by taking apart all removable components of the device.
- Soak Components: Soak the nozzles and reservoir in a mixture of vinegar and water. Use 1 part vinegar to 2 parts water for effective cleaning.
- Clean Nozzles: Use a small brush to scrub the nozzles. This removes any build-up inside.
- Scrub Reservoir: Gently brush the inside of the reservoir to loosen and remove deposits.
- Wash with Soap: After soaking, wash all parts with mild dish soap to remove any vinegar residue.
- Rinse Thoroughly: Make sure to rinse all components with clean water until the soap is completely gone.
- Dry Completely: Let all parts air dry on a clean cloth before reassembling the flosser.
- Reassemble Device: Once dry, put your water flosser back together. It’s now ready for use.
By carrying out this weekly cleaning routine, you will ensure that ‘how to clean water flosser’ becomes second nature, keeping your device pristine and extending its lifespan.
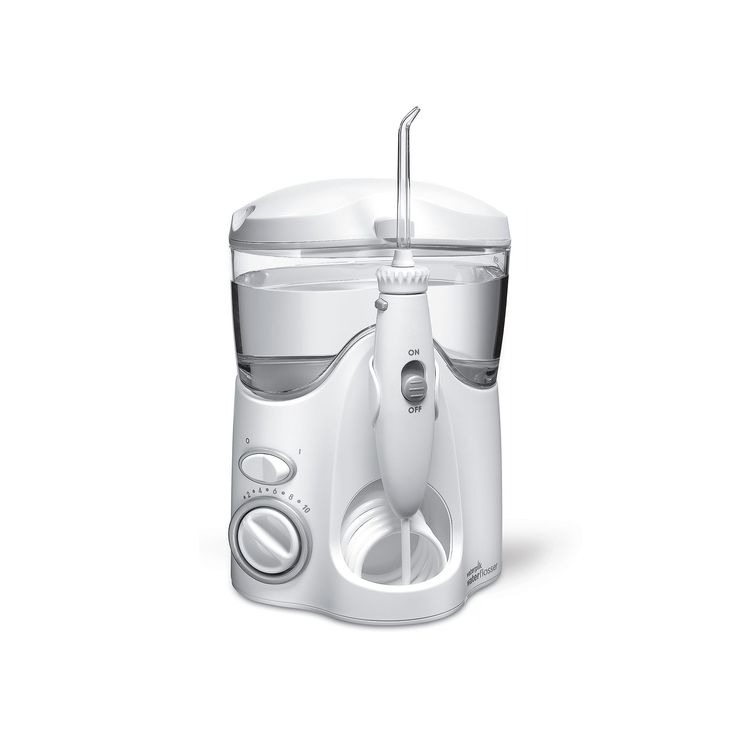
How to Decalcify Your Water Flosser
Decalcifying your water flosser is key to its performance and longevity. Hard water can leave mineral deposits, often called limescale, inside the device. This can hinder water flow and decrease the effectiveness of your flossing routine.
To decalcify your water flosser, you’ll need to perform a simple routine:
- Prepare a Decalcifying Solution: Mix equal parts of white vinegar and warm water.
- Fill the Reservoir: Pour the decalcifying solution into the water reservoir.
- Run the Flosser: Turn the device on and let the solution run through the unit.
- Soak: Leave the solution in the flosser for about 5 minutes to loosen the deposits.
- Empty and Rinse: After soaking, empty the solution and rinse the reservoir with clean water.
- Clean the Nozzles: If nozzles have mineral buildup, soak them in the same solution and then rinse.
- Final Rinse: Operate the flosser with clean water to remove all vinegar traces.
- Dry Thoroughly: Allow all parts to air dry before the next use.
Using this method once a month can help maintain your water flosser’s efficiency. You will notice improved performance and a reduction in the deposit buildup inside your device. Remember, ‘how to clean water flosser’ includes routine decalcification for the best oral hygiene practice.
Troubleshooting Common Issues with Water Flossers
Facing problems with your water flosser can be frustrating, especially when you’re trying to maintain good oral hygiene. Here are some typical issues you might encounter and how to address them effectively:
- Weak Water Pressure: If the water flow seems too weak, check for any blockages in the nozzle or hose. Clean them thoroughly using the steps outlined in previous sections regarding daily and weekly cleaning.
- Water Leakage: Leakage often occurs at connections or in the reservoir. Ensure all parts are tightly secured, and replace any worn-out seals or gaskets.
- Motor Sounds but No Water Comes Out: This could signify air trapped in the lines or a malfunctioning pump. Try running the flosser to clear air bubbles or consider seeking professional help if that doesn’t work.
- The Flosser Won’t Turn On: First, ensure it’s properly charged or plugged in. If it still doesn’t work, the issue could be electrical. It’s best to contact the manufacturer or a professional for electric devices.
- Frequent Stopping During Use: This might be due to an overfilled reservoir or a sensor issue. Check the water level and consult the user manual for sensor troubleshooting.
- Nozzle Falls Out: A loose nozzle can result from wear and tear or improper installation. Check if it’s attached correctly or replace the nozzle if it’s damaged.
- Mold or Mildew Presence: Regularly clean and dry your flosser to prevent mold growth. If you spot mold, follow the deep cleansing process using vinegar.
For any persistent issues beyond basic troubleshooting, refer to your user manual or contact the manufacturer for assistance. Remember, regular maintenance is the key to avoiding most of these common problems, keeping the phrase ‘how to clean water flosser’ at the forefront of your water flosser care routine.
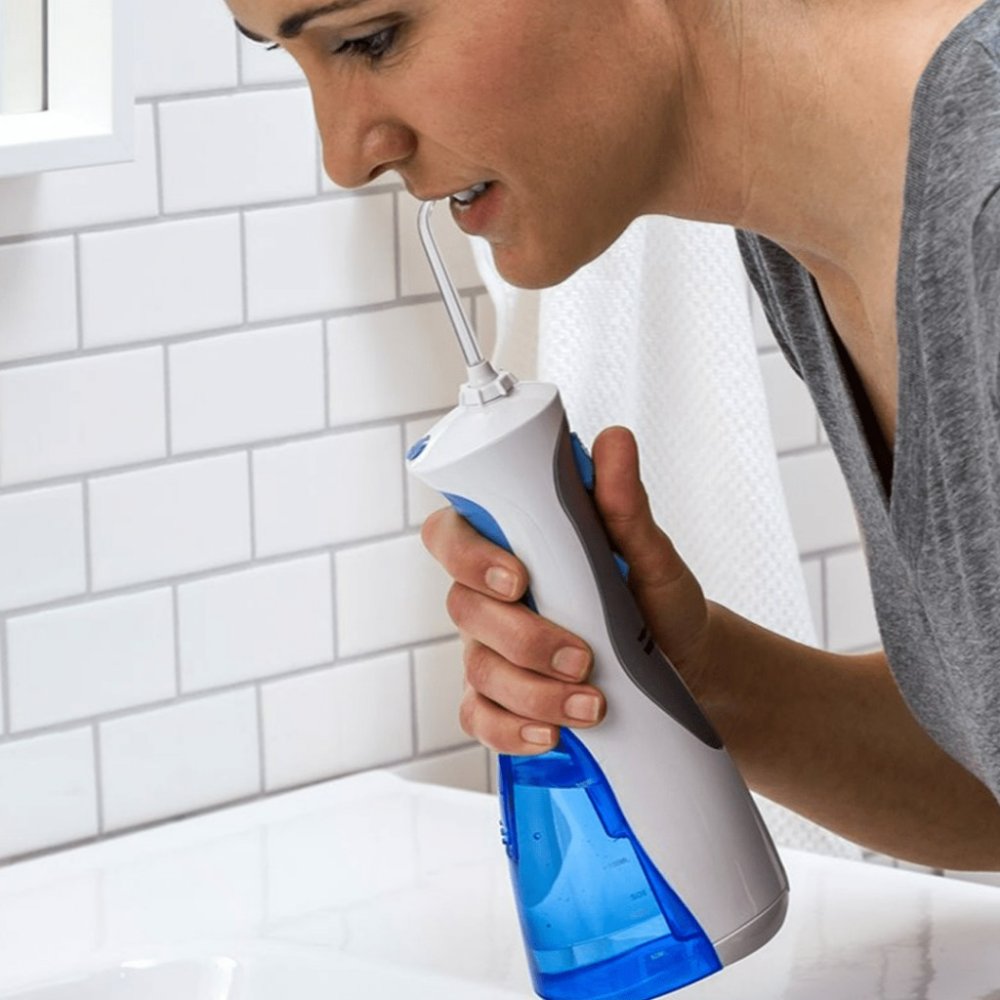
Recommended Cleaning Products and Tools for Water Flossers
To keep your water flosser in top shape, use the right products and tools. Here are our recommendations:
- Distilled White Vinegar: Essential for decalcifying and deep cleaning. It’s safe and eco-friendly.
- Mild Dish Soap: Choose a gentle soap for regular washing of parts. It effectively removes grime.
- Soft-Bristled Brushes: Small brushes can clean nozzles and tight spots without causing damage.
- Microfiber Cloth: Ideal for drying and wiping the exterior. It won’t scratch delicate surfaces.
- Dental Picks: Useful for dislodging stubborn debris lodged in nozzles or hoses.
- Air Flosser Tips: Specialist tips designed for precise cleaning of your water flosser.
Stick to non-abrasive cleaners to avoid damaging your water flosser. Harsh chemicals can harm the device. For a fresh scent, add a few drops of mouthwash to the reservoir during your daily rinse. This can keep the unit smelling clean. Every tool mentioned above should promote effective cleaning while ensuring the longevity of your flosser.
Storing Your Water Flosser the Right Way
Proper storage of your water flosser is essential to keep it clean and functional. Here are some best practices:
- Choose a Dry Location: Store your water flosser in a dry area to prevent moisture build-up, which can cause mold and bacteria growth.
- Keep it Upright: Position the flosser upright to allow any residual water to drain out, minimizing the risk of water stagnation.
- Cover the Nozzles: Use a clean cover or a storage case for the nozzles to protect them from dust and airborne contaminants.
- Avoid Direct Sunlight: Place the water flosser away from direct sunlight which can damage the materials and affect the electronics.
- Don’t Wrap the Cord Tightly: Store the power cord loosely coiled to avoid damage to the wires.
- Keep it Away from Heat Sources: High temperatures can harm the flosser’s components, so keep it away from heaters and other warm appliances.
- Ensure it is Dry Before Storing: Always ensure that both the flosser and its parts are completely dry before tucking it away to avoid the growth of mold.
By following these simple storage tips, you can help maintain the integrity and longevity of your water flosser. Ensuring ‘how to clean water flosser’ also includes proper storage will make your cleaning efforts more effective.
Professional Maintenance Tips for Water Flossers
Maintaining your water flosser is more than just a weekly routine. Sometimes, professional tips can help extend its life even further. Here’s what you need to know:
- Check for Wear and Tear: Regularly inspect your flosser for signs of damage. If you spot cracks or leaks, it may be time to replace parts.
- Replace Nozzles and Tips: Over time, nozzles can lose their effectiveness. Dentists often recommend replacing them every three to six months.
- Review the User Manual: Each model may require specific care. The user manual will have tailored advice for your water flosser.
- Visit a Dental Professional: If you are unsure about the condition of your flosser, or how to clean water flosser units properly, seek advice from a dentist or dental hygienist.
- Monitor Performance: Should your flosser’s performance drop, it may need a professional check-up. This can prevent further issues.
- Get Professional Repairs: If you face a complex problem, it’s safest to have it repaired by a qualified technician.
By taking these steps, you ensure that ‘how to clean water flosser’ includes the best professional practices. This will help maintain your device’s efficacy and hygiene.

