 by
by Introduction to Water Flossers and Their Benefits
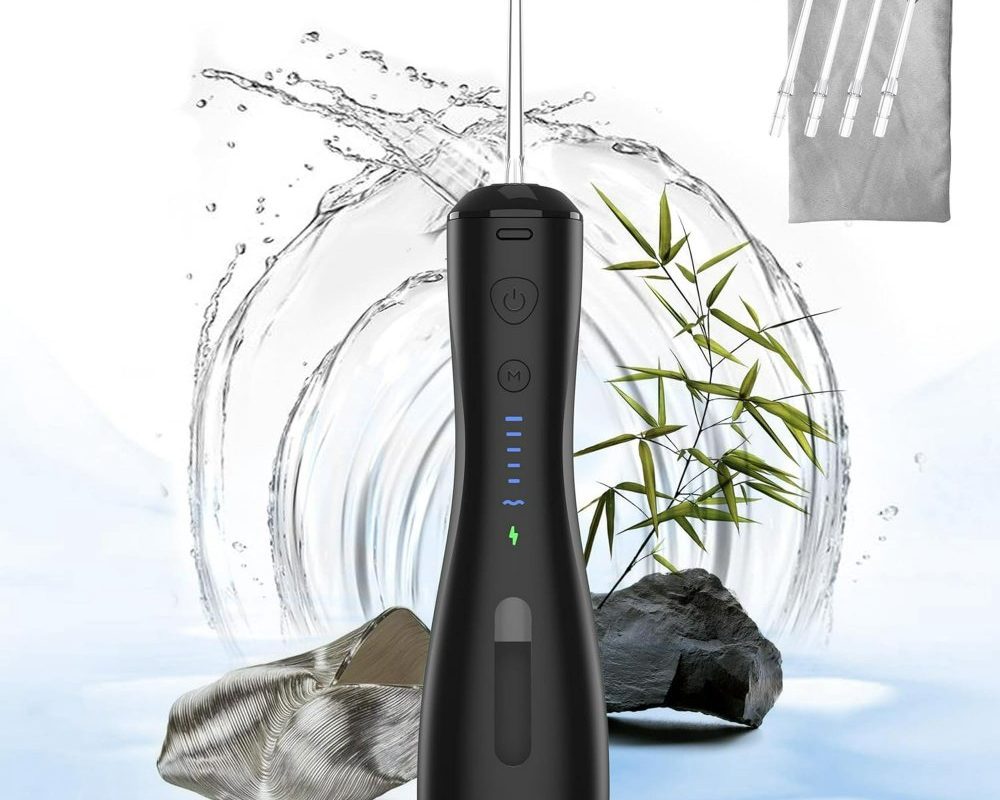
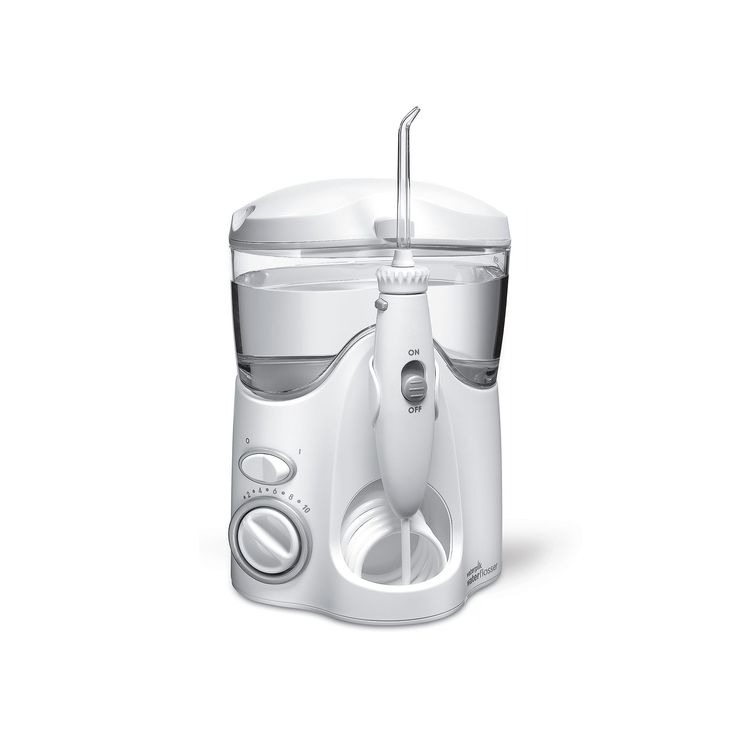
Water flossers are a breakthrough in dental hygiene. These devices use a stream of pulsating water to clean between teeth and below the gumline. Unlike traditional string floss, water flossers are gentle on the gums and easy to use. This makes them ideal for people with braces, implants, or sensitive gums.
The benefits of using a water flosser include:
- Effective Plaque Removal: Water flossers can remove up to 99.9% of plaque from treated areas, making them extremely effective at maintaining oral health.
- Gum Health: Regular use reduces the risk of gum disease by efficiently cleaning the hard-to-reach areas that toothbrushes often miss.
- Ideal for Braces: Those with braces can benefit greatly, as water flossers can easily clean around wires and brackets.
- Convenience: Water flossers are quick to set up and use, saving time in your oral care routine.
By learning how to clean a water flosser properly, you can ensure that this valuable tool continues to provide these benefits without the risk of introducing bacteria or mold into your mouth. Regular maintenance can extend the life of your flosser and keep it working effectively. So let’s find out how to do just that in the following sections of this blog.
Regular Maintenance: Frequency and Reasons
To keep your water flosser in top condition, regular maintenance is key. Aim for a thorough cleaning at least once a week. If you use your water flosser more frequently, consider cleaning it more often. Daily users might clean certain parts, like the reservoir, every few days.
Regular cleaning prevents the build-up of mineral deposits from water, which can affect performance. It also stops the growth of bacteria and mold. These can be harmful to your mouth and overall health if not addressed.
A clean water flosser works more efficiently. It helps ensure you get the full oral hygiene benefits, like those mentioned earlier in the blog. In short, clean your water flosser regularly:
- To prevent bacterial growth and mold from impacting your health.
- To avoid deposit build-up which can clog and reduce the efficacy of the device.
- To ensure optimal performance and maintain the hydraulic function needed to remove plaque.
- To extend the life of your device, as proper care can prevent wear and problems down the line.
Remember, upkeep is simple but crucial. Next, we will guide you through safely preparing your water flosser for a cleaning session.
Safety First: Unplugging and Disassembling
Before you start cleaning your water flosser, safety must be your top priority. Unplugging the device is crucial to prevent any risk of electrical shock. Whether you’re using a corded model plugged into the wall or a rechargeable device, make sure it is completely turned off and unplugged. This step is non-negotiable and ensures a secure environment for you to begin the cleaning process.
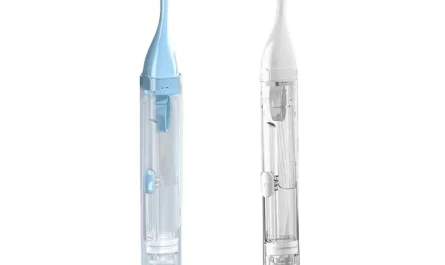
Once your flosser is unplugged, you can start disassembling it. Most water flossers consist of a few key parts: the reservoir, the handle, and the tips. Gently remove the reservoir from the main unit. If your model has a removable water tank, take this part out as well. Next, detach the handle and tips from the hose or the main body of the flosser. If you’ve never done this before, consult the user manual for guidance on how to detach parts safely.
Each part you disassemble will require a different cleaning method, which we will cover in the following sections. By properly unplugging and taking apart your flosser, you ensure a thorough clean that keeps the device in perfect working order. Plus, understanding how to disassemble your water flosser helps when you perform deep cleans or troubleshoot potential issues.
Step-by-Step Cleaning Process
To maintain your water flosser’s effectiveness, follow this step-by-step cleaning process. It’s simple to do and requires only a few minutes.
Emptying and Rinsing the Reservoir
Start by emptying the water reservoir. Dump out any remaining water. Rinse the reservoir with warm water. Swirl the water around to remove any loose debris. For a deeper clean, you can use a soft-bristle brush. Make sure to clean the corners well. After rinsing, set the reservoir aside to air-dry.
Cleaning the Handle and Tips
Next, focus on the handle and tips. Disconnect the tips from the handle. Rinse each tip under warm running water. Use a small brush or a cloth to clean the handle. Take care to gently scrub around the buttons and grooves.
Descaling the Water Flosser
Descaling removes mineral deposits from hard water. Fill the reservoir with a mixture of equal parts vinegar and warm water. Run the flosser to pass the mixture through the system. Let it sit for a few minutes, then rinse thoroughly with clean water. This helps keep the water flosser free from calcium build-up.
Air-Drying and Reassembling Your Device
After descaling and rinsing your water flosser, it’s crucial to let all parts air-dry thoroughly. Proper drying prevents moisture from getting sealed inside upon reassembly which could foster bacterial growth. Spread out all components on a clean towel. Leave them to air-dry, outdoors if possible, for faster evaporation. Avoid direct sunlight; it can damage parts. Ensure no water remains before reassembling your water flosser. Reattach the tips to the handle. Next, slot the handle back onto the main unit. Reinstall the reservoir last, ensuring a firm fit. Test your device to confirm it functions correctly after reassembly. Pat yourself on the back; you’re now set for more effective flossing with a clean, well-maintained device.
Maintaining Water Flosser Performance
To ensure your water flosser keeps working at its best, regular checks are vital. Keep an eye out for signs of wear and tear. Do not ignore odd noises or a drop in pressure. These could signal a need for maintenance. Also, always check that the tips are clear of debris. A blocked tip can reduce effectiveness.
Inspect and Replace When Needed
Inspect replaceable parts often, such as the tip and filter. Manufacturers usually suggest changing the tip every three to six months. Follow this advice to maintain strong water pressure and hygiene.
Monitor Water Pressure
Water pressure is key for how to clean a water flosser and removing plaque. If you notice a pressure drop, check for clogs or buildup. Running a vinegar solution through the flosser can often fix this issue.
Test the Device Regularly
After each cleaning, test your flosser to make sure it works well. Fill it with water and run it on all settings. This checks that everything is clear and functioning.
Following these steps will help keep your water flosser in peak condition. Regular maintenance ensures you enjoy all the benefits of this dental hygiene tool for a long time.
Conclusion: The Importance of a Clean Water Flosser
As we’ve explored, proper care for a water flosser is essential. It’s not just about keeping the device looking clean; it’s about safeguarding your dental health. Let’s recap the key points:
- Prevent bacteria buildup: A dirty water flosser can harbour harmful bacteria and mold. Cleaning it avoids health risks.
- Avoid mineral deposits: Regular descaling stops hard water minerals from clogging your flosser.
- Ensure efficiency: A clean flosser works better, maintaining strong water pressure for effective plaque removal.
- Maximize lifespan: Routine maintenance extends your device life, saving money in the long run.
Learning how to clean a water flosser is a small effort with big returns. Remember these steps and make them a part of your oral care routine. By doing so, you guarantee that your water flosser remains a reliable ally in your quest for dental health.