Introduction to Water Flossing
Transform your oral care with water flossing. This advanced cleaning method uses water streams for a deep, thorough clean.
The Innovation Behind Water Flossers
Water flossers use targeted water streams to remove plaque and food debris from teeth and gums. They make flossing quick, easy, and effective.
Benefits of Water Flossing Over Traditional Methods
Water flossers outperform string floss in comfort and efficiency. They clean hard-to-reach areas and are ideal for people with braces or implants.
Choosing the Right Water Flosser
Selecting an ideal water flosser is crucial for your oral health. Let’s explore how to make the right choice.
Understanding Different Types of Water Flossers
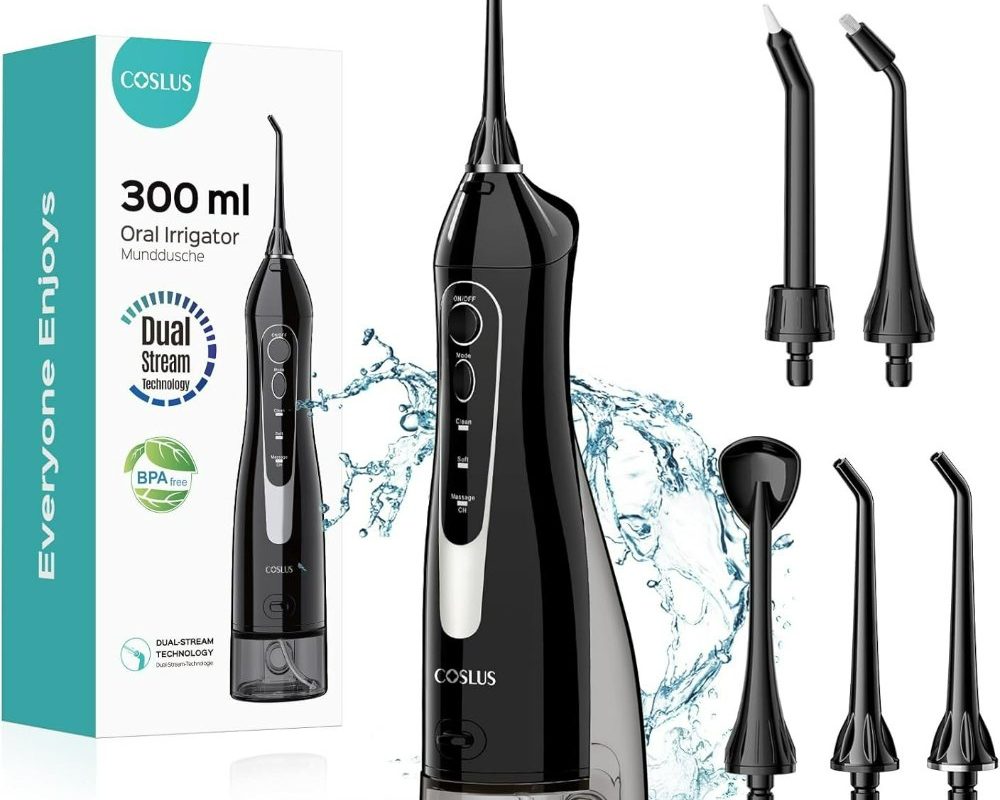
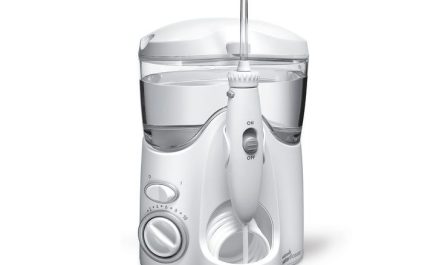
Water flossers come in various styles and functions. Countertop units offer power but need space. Portable models are great for travel. Some even target specific needs like braces.
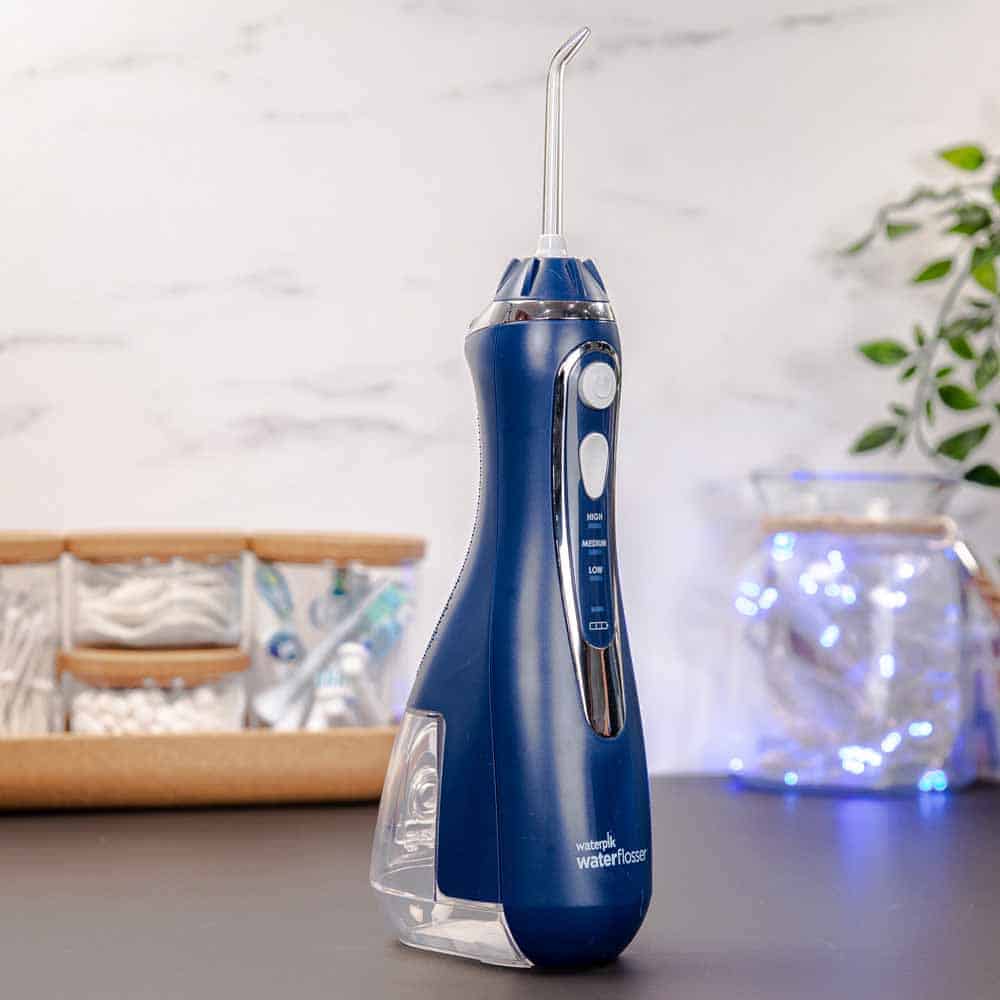
Countertop units are sturdy and often have more features. They require an outlet and have larger water reservoirs. Portable flossers are smaller and battery-operated, convenient for use on the go. A third kind, faucet flossers, attach directly to a sink’s faucet.
When weighing options, think about your lifestyle and oral care needs. Your choice should match your daily routine and dental hygiene goals.
Features to Consider When Selecting a Water Flosser
Look for features that enhance the flossing experience. Water pressure control is key. It lets you start gentle and increase power as needed. Multiple jet tips are useful for families or diverse oral needs. And don’t overlook ease of cleaning—a clean flosser keeps your mouth healthy.
Consider water reservoir size, too. A larger tank means less refilling, which can make your routine quicker. Also, some water flossers offer special modes like ‘pulse’ for massaging gums. Think about the features that will benefit you most.
Choosing the right water flosser might seem overwhelming. But by understanding the types and key features, you can make an informed decision. Pick the flosser that meets your personal needs, and you’re on your way to a brighter, healthier smile.
Setting Up Your Water Flosser
To start off with a water flosser, setting it up right is key. Let’s get into how you can do this simply and effectively.
How to Fill and Prepare the Reservoir
First things first, fill up the reservoir. Use warm water for comfort. You can add a bit of mouthwash for a fresh feel. Stay away from hot water, which can harm your flosser.
Selecting and Attaching the Correct Tip
The type of tip you choose should match your needs. There are tips for general use and others for braces or sensitive gums. Snap the tip onto the handle firmly to secure it.
Adjusting the Water Pressure for Comfort and Effectiveness
Begin with low pressure and slowly turn it up. The best pressure level doesn’t hurt but still cleans well. Your comfort matters, so find a setting that feels right for you. The Spotlight Water Flosser has a range of settings to suit everyone.
The Proper Water Flossing Technique
Using a water flosser can revamp your dental hygiene if done correctly. Knowing the technique will make your routine more effective.
Step-by-Step Guide to Using a Water Flosser
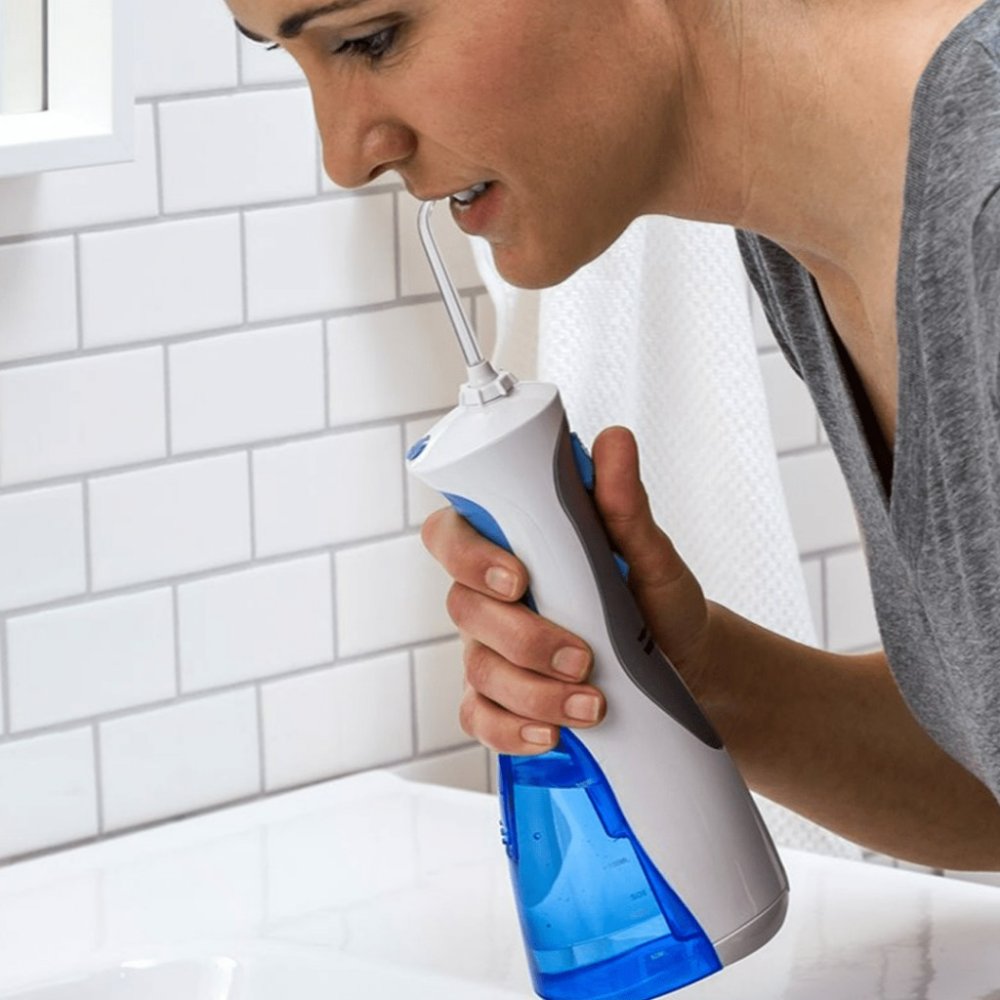
Begin by leaning over the sink and put the flosser tip in your mouth. Close your lips to prevent water from splashing. Start with your back teeth, holding the tip at a right angle to the gums. Move the tip along the gum line, pausing briefly at each tooth. Move to the front teeth and use a gentle sweeping motion. Finish with a gentle massage on your gums using circular movements.
Targeting Problem Areas and Braces or Implants
Give special care to zones where plaque builds up. Those with braces or implants should take extra time. Aim the flosser at different angles to clean around braces or implants. This helps to remove trapped food and plaque.
Best Practices for Duration and Frequency of Use
Use your water flosser for about two minutes each time. It’s best to floss daily, ideally before bed. Pair it with regular brushing for a top-notch clean. This routine will help keep your mouth at its healthiest.
Avoiding Common Water Flossing Mistakes
While water flossers are excellent tools for oral hygiene, missteps can reduce their effectiveness. Here’s how to avoid common flossing mistakes for the best results.
Tips to Ensure Effective Cleaning
To get the most out of your water flosser, follow these simple guidelines:
- Start with Low Pressure: Too much pressure can hurt your gums. Begin gently.
- Use Warm Water: Cold water may cause discomfort, while hot can damage the tool.
- Take Your Time: Rushing can miss spots. Floss slowly for thorough cleaning.
- Empty the Reservoir: After use, remove water to prevent bacteria buildup.
- Dry the Handle: Wipe the handle with a cloth to keep the device clean and functional.
By observing these points, you maintain both your water flosser and your oral health.
Positioning the Nozzle Correctly
Correct nozzle use is key to proper flossing:
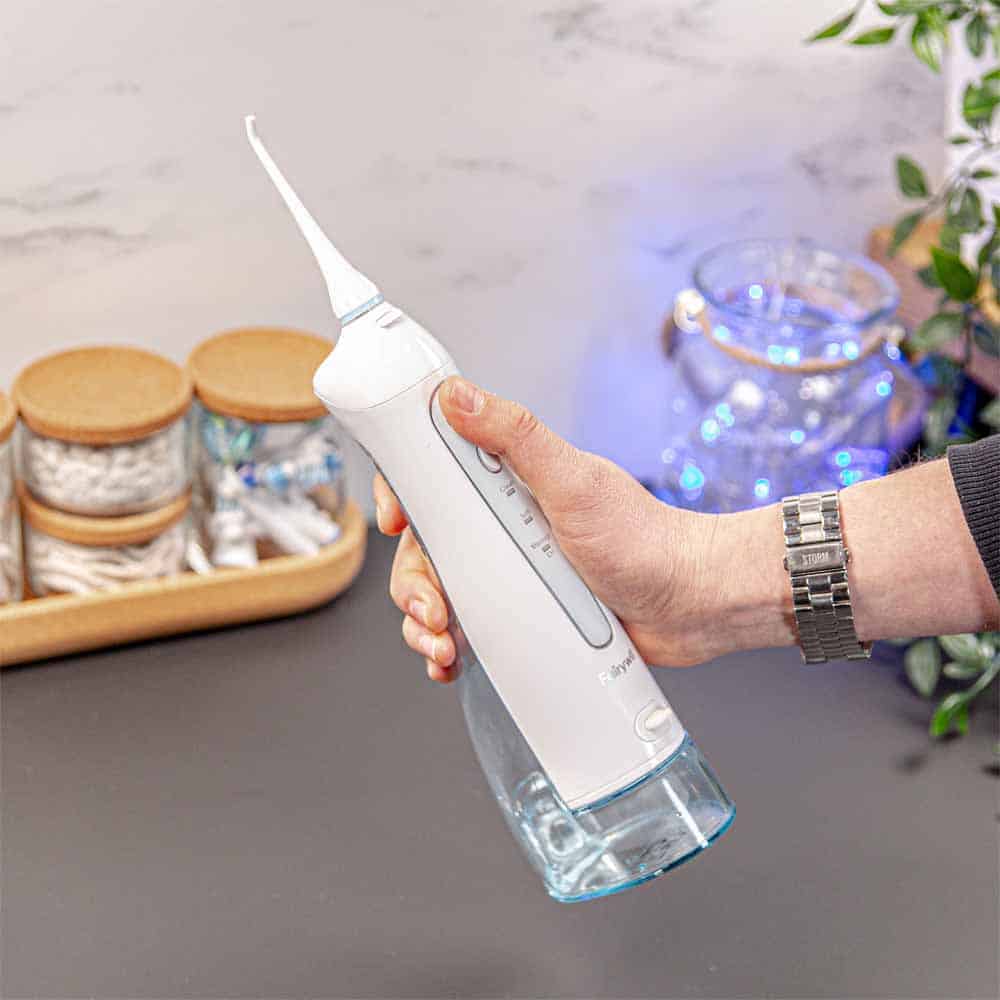
- Point the tip at a 90-degree angle towards your gums.
- Slide the tip gently along the gum line and between teeth.
With the right angle and motion, your flosser can remove more plaque and debris.
Importance of Time and Patience During Flossing
Time and patience play a critical role in effective water flossing. Consider these recommendations:
- Spend at least two minutes flossing each time.
- Focus particularly on areas that are prone to plaque.
- Be consistent, flossing once every day for the best oral health.
Patience ensures each section of your mouth gets the attention it needs for cleanliness.
Maintenance and Care of Your Water Flosser
Proper care keeps your water flosser at peak performance. Discover how with these tips.
Daily and Deep Cleaning Procedures
Daily Cleaning: After each use, empty water from the reservoir. Rinse it out well. Wipe the flosser’s body with a soft, clean cloth to avoid water marks.
Deep Cleaning: Once a month, clean your water flosser deeply. Mix water with white vinegar. Run this mix through the flosser to remove any build-up. This keeps your flosser working its best.
When to Replace Parts and Accessories
Tip Replacement: Change out your water flosser tips every three to six months. Frequent users should do this sooner if they notice signs of wear.
Other Parts: Replace other parts based on the manufacturer’s recommendations. Regularly check for signs of wear or damage. Acting early helps maintain the flosser’s effectiveness.
Advantages of Using a UV-C LED Steriliser
What It Does: A UV-C LED Steriliser in your water flosser gets rid of germs. This technology cleans the water so it’s safe for your mouth.
Why It’s Good: Using this feature minimizes the risk of bacteria causing infections. It makes sure your water flosser is safe to use every time.
Conclusion: The Importance of Water Flossing in Oral Hygiene
The power of water flossing in boosting oral health cannot be overstated. It stands out as a pivotal upgrade to traditional dental routines. Rapid water streams efficiently clean between teeth and along the gum line. This promotes superior plaque removal and gum health.
Water flossers are user-friendly, making them a favored choice for all ages. Particularly, they are a blessing for those with braces or implants. The convenience of cleaning hard-to-reach spots encourages consistent oral care. Regular use can lead to fewer cavities and better breath. Consistent water flossing could mean a brighter smile and fewer trips to the dentist.
All in all, adding a water flosser to your daily routine is a smart move. It’s a crucial tool that complements brushing. It shines in areas where regular floss might falter. For those aiming for peak dental health, mastering how to use a water flosser is key. Your mouth will thank you with every clean and fresh smile.

